When looking to upgrade or replace the radio in a 2000 Silverado, understanding the wiring harness diagram becomes essential. The wiring harness diagram provides critical information about the connections needed for speakers, power, and other audio functions. This guide will walk you through the wiring harness diagram specifics to facilitate a smooth installation process.
Understanding the Wiring Harness
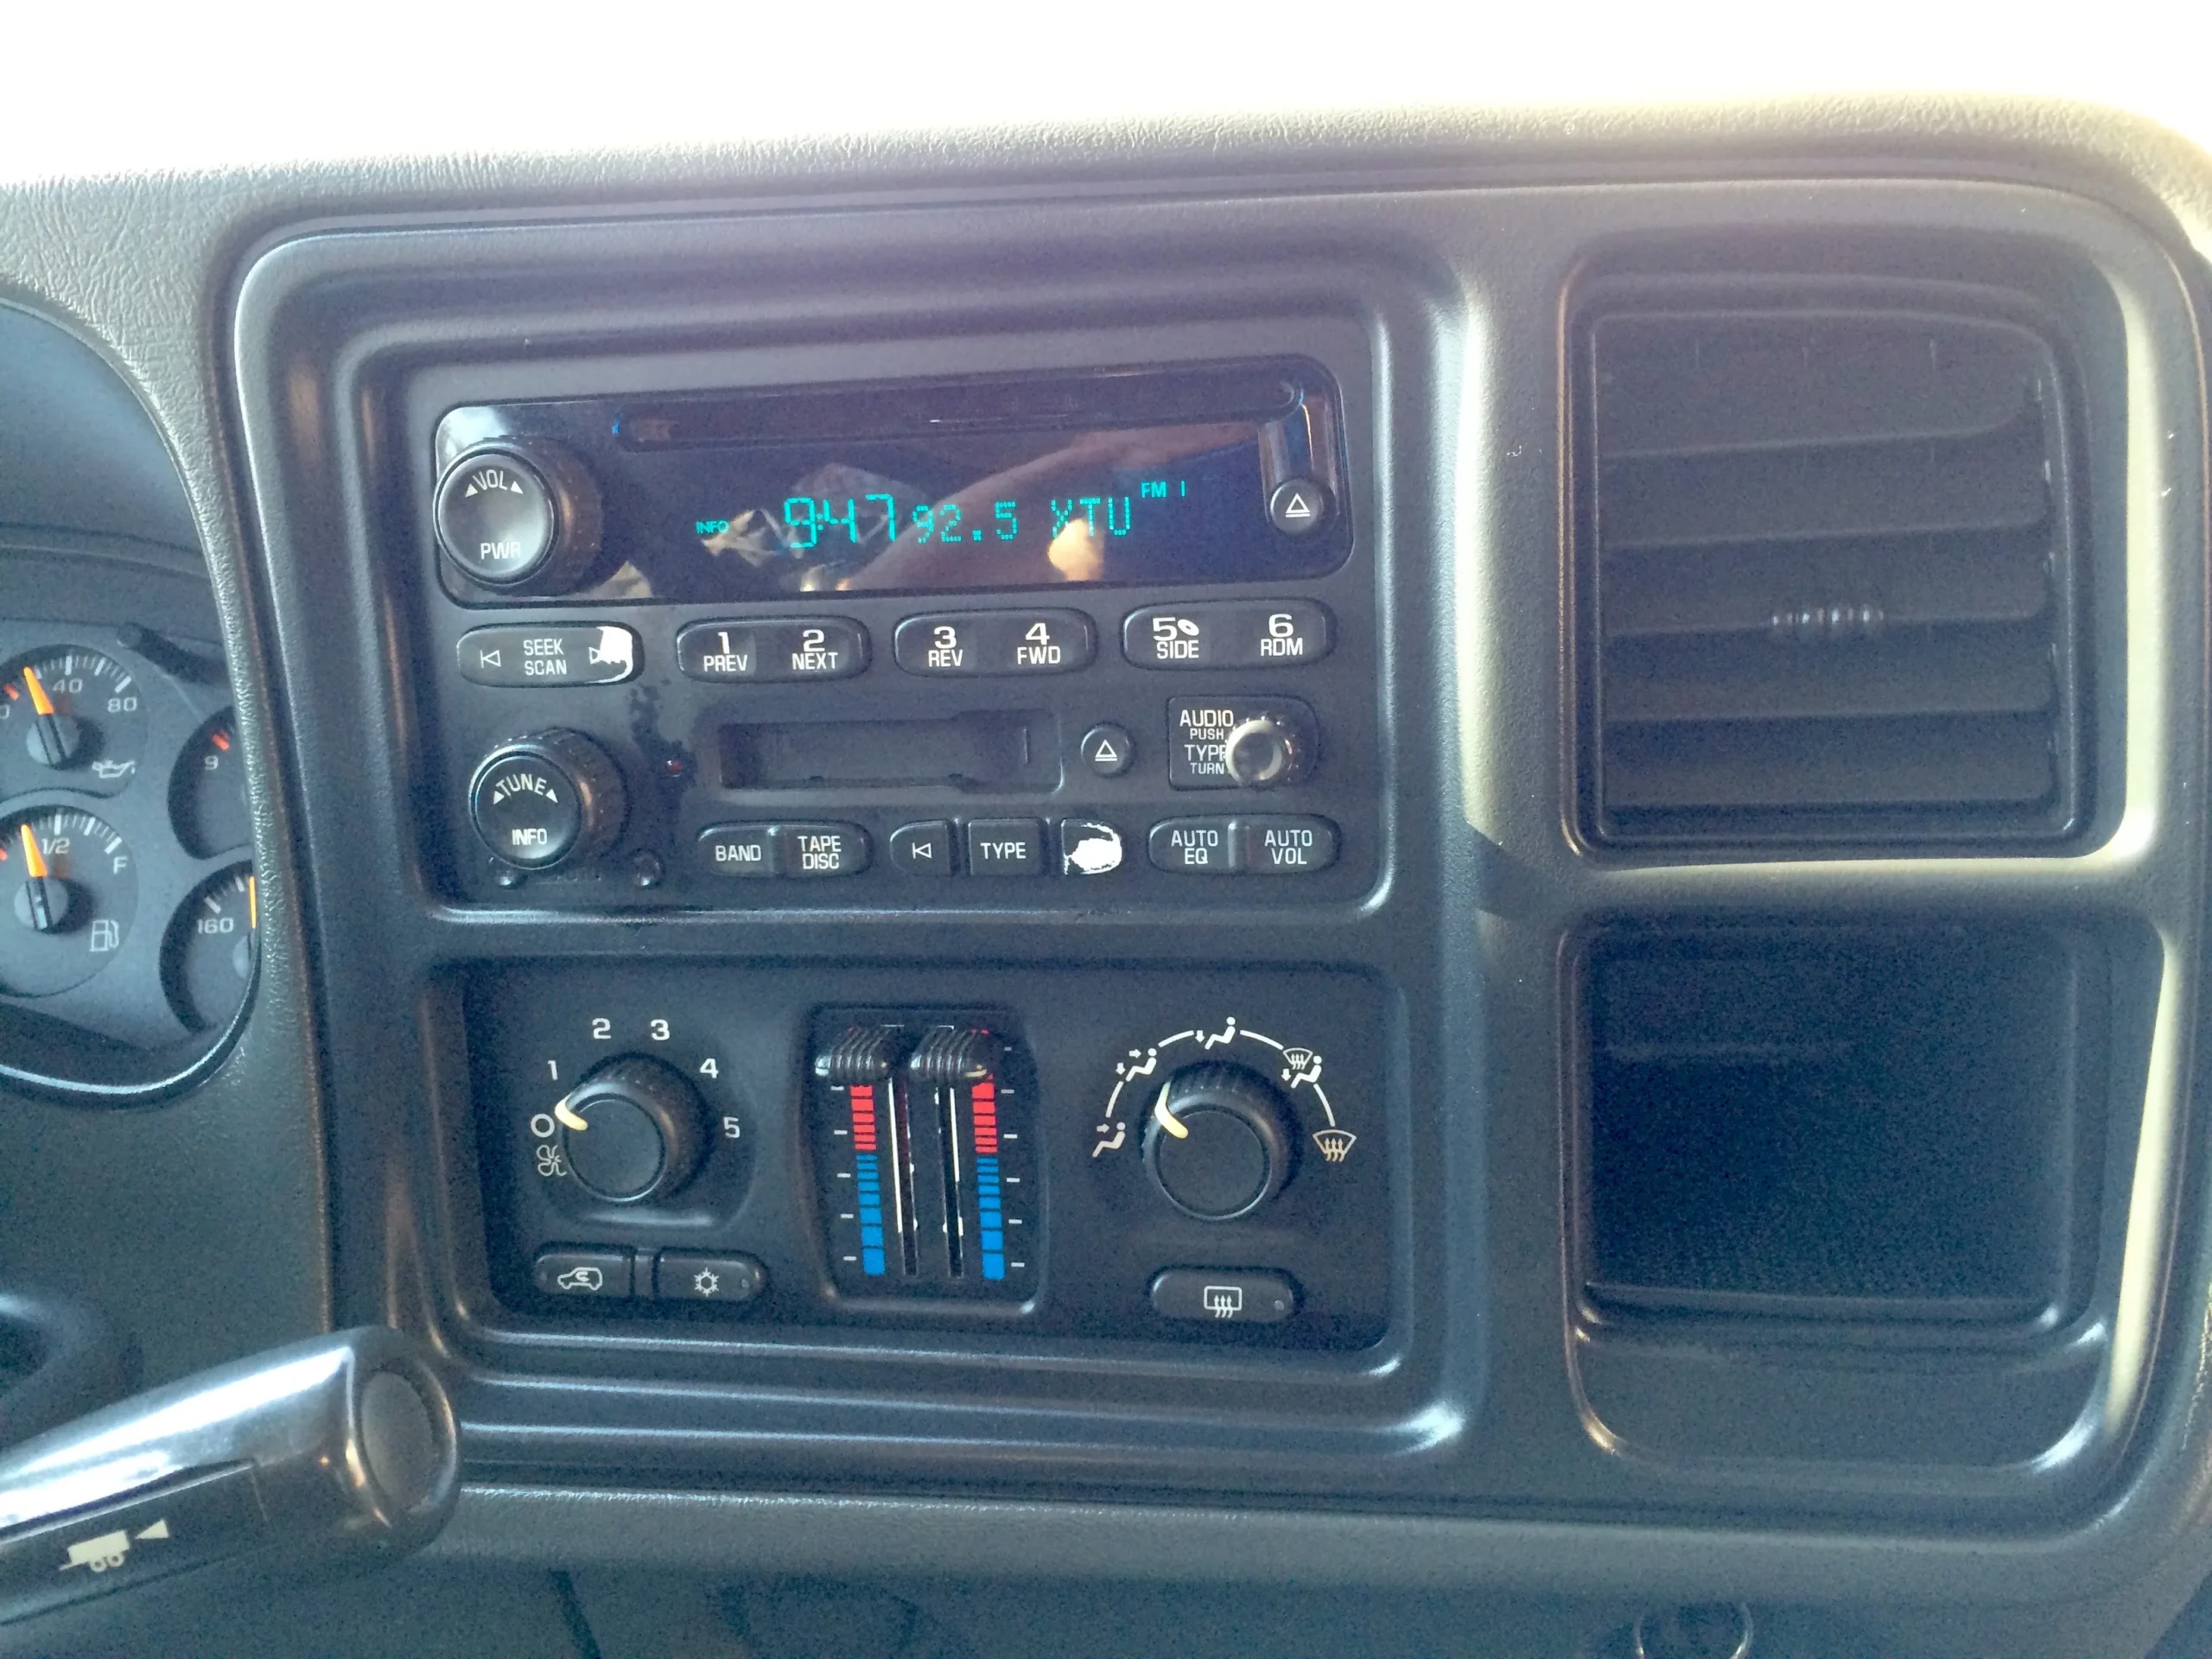
A wiring harness is a collection of wires and connectors that link various electronic components in your vehicle. In a 2000 Silverado, the radio wiring harness serves as the intermediary between the vehicle’s electrical system and the radio unit. It helps ensure that power, sound, and control signals are effectively transmitted, allowing for the radio and connected devices to function properly.
When replacing the radio, a wiring harness diagram helps identify which wire connects to each function. Typically found in the vehicle’s service manual or online, this diagram is crucial for anyone aiming to install a new radio or troubleshoot audio issues. An accurate understanding of the wiring harness can prevent confusion, ensure proper connections, and ultimately save time and money.
Main Components of the Wiring Harness
The wiring harness for the 2000 Chevrolet Silverado radio consists of several key components. Each wire in the harness serves a specific function, so identifying and understanding these wires is essential when hooking up a new stereo or diagnosing issues.
- Power Supply Wires: These wires provide the necessary voltage for the radio to operate. Usually, there are two primary power wires: one for constant power (usually the yellow wire) and one for switched or ignition power (often the red wire). The constant power maintains the radio’s settings and clock, while the switched power turns the radio on and off with the vehicle’s ignition.
- Grounding Wire: A grounding wire is crucial for completing the electrical circuit. In the Silverado’s wiring harness, this is typically a black wire. If the ground connection is poor or absent, the radio may not function correctly or may produce audio distortion.
- Speaker Wires: These wires connect the radio to the speakers in the vehicle. Each speaker usually has a pair of wires: one for positive (often color-coded) and one for negative. Under the wiring harness diagram, you’ll find specific colors assigned to each speaker connection, making it easier to connect to the correct speakers.
- Antenna Wire: The antenna wire connects the radio to the vehicle’s antenna, allowing it to receive AM/FM broadcast signals. This wire is often separate from the speaker and power wires and is crucial for ensuring good radio reception.
- Accessory and Amplifier Wires: If your Silverado is equipped with an aftermarket amplifier or any additional accessories, these connections are essential. Many aftermarket radios can include features such as amplified sound or Bluetooth connectivity, requiring additional wiring that might not be part of the stock harness.
Wiring Color Codes
Familiarizing yourself with the color-coded wiring scheme is critical for a successful installation. While variations may occur, the standard color coding for the 2000 Silverado radio wiring harness typically includes:
- Yellow: Constant power
- Red: Switched power (ignition)
- Black: Ground
- Gray: Front right speaker (+)
- Gray/Black: Front right speaker (-)
- White: Front left speaker (+)
- White/Black: Front left speaker (-)
- Purple: Rear right speaker (+)
- Purple/Black: Rear right speaker (-)
- Green: Rear left speaker (+)
- Green/Black: Rear left speaker (-)
- Blue: Amplifier turn-on or power antenna
Being aware of these color codes helps streamline the connection process, reducing the chances of mistakes that could damage the radio or the vehicle’s electrical system.
Choosing the Right Wiring Harness
When replacing the OEM radio with an aftermarket unit, a wiring harness adapter can significantly simplify the installation process. These adapters are designed to connect your new radio to the factory wiring without cutting or modifying existing wires, preserving the integrity of the vehicle.
When choosing a wiring harness, make sure it’s compatible with the year, make, and model of your Silverado. Many reputable brands offer these adapters, which can be found at automotive stores or online. Installation kits often include detailed instructions that correspond with the provided wiring harness diagram, ensuring a seamless transition from old to new.
How to Read the Wiring Harness Diagram
Reading a wiring harness diagram isn’t as daunting as it may seem. Generally, the diagram represents an outline of the wires, showing their function and the corresponding colors.
- Understand the Legend: Each wiring diagram includes a legend at the corner, explaining what each line or symbol represents. This will detail the colors associated with the radio functions, such as power, ground, and speakers.
- Match Connections: Next, use the diagram to match your new radio connector to the existing harness in the vehicle. Cross-reference colors and functions to ensure proper alignment.
- Make the Connections: Once you’ve identified your wires, you can strip the insulation and connect them, either by soldering or using wire connectors. Ensure that you follow the positive and negative leads correctly for speakers to avoid phase issues that might distort sound quality.
Installing the New Radio
Once the wiring is correctly connected as per the diagram, the next step is the physical installation of the radio. Carefully slide the radio into the mounting bracket, ensuring all connections are secure and tucked away to prevent pinching or damage.
Before fully reassembling the dash, it’s advisable to test the radio. Turn on the ignition, then power up the radio to ensure sound from all speakers and that features like Bluetooth or auxiliary inputs are working properly. If you encounter issues, double-check the connections against the wiring diagram.
Conclusion
Understanding the wiring harness diagram for the 2000 Silverado radio is vital for a successful audio upgrade or replacement. By familiarizing yourself with the main components, color codes, and the installation process, you can navigate the complexities of vehicle audio systems with confidence. Thoroughly read the diagrams and instructions, and don’t hesitate to seek professional help if needed.
With the right knowledge and tools, you can enjoy an enhanced audio experience tailored to your preferences.
FAQs
1. Can I install a new radio in my 2000 Silverado without a wiring harness?
While it is possible to install a new radio without a wiring harness, it’s not recommended. A wiring harness adapter simplifies the process, allows for a clean installation, and prevents cutting factory wiring.
2. What tools will I need for installing a new radio?
Common tools include a wire stripper, crimping tool, screwdriver set, and possibly a soldering iron if you choose to solder connections. Additionally, you might need a dash removal tool to take off the trim.
3. My new radio isn’t powering on. What should I check?
Double-check all connections based on the wiring diagram, especially the power wires, ground connections, and fuses. Ensure the ignition switch is in the ON position to provide power to the radio.
4. Can I use the existing speakers with aftermarket radios?
Yes, most factory speakers can be used with aftermarket radios. However, if you upgrade to a more powerful radio, you may want to consider replacing the speakers for better sound quality and to handle the increased wattage.
5. Is professional installation worth it?
If you’re unsure about wiring or installation steps, professional installation is a good option. They can save you time and ensure that the installation is done correctly, potentially avoiding issues down the road.