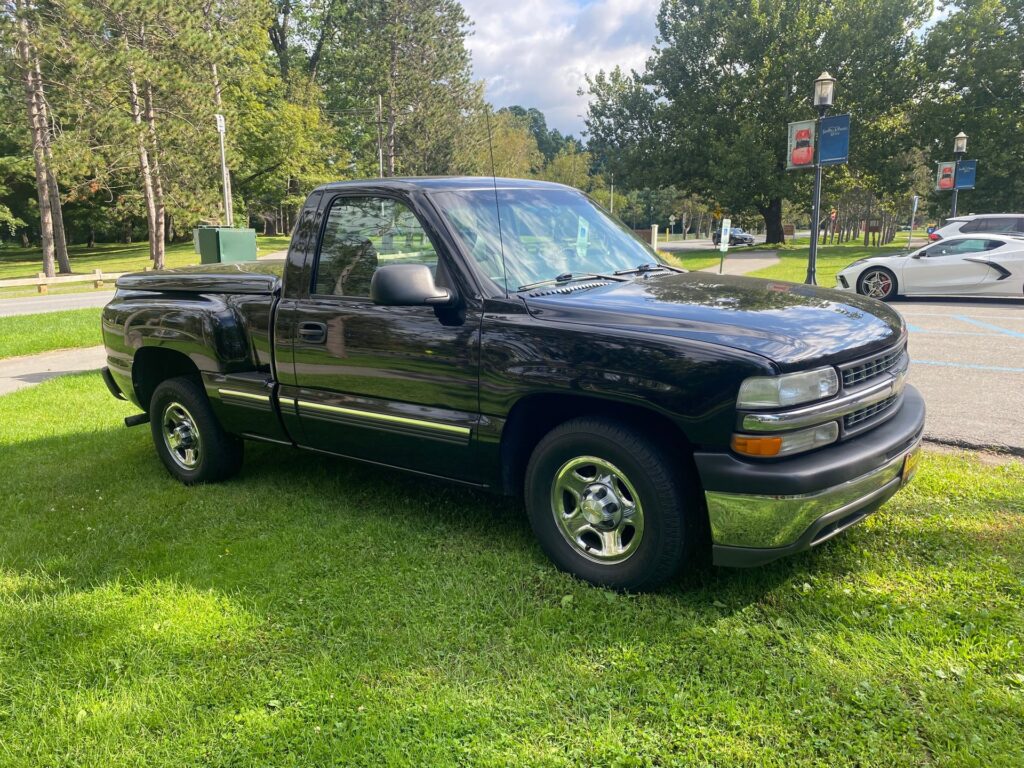
Wiring a radio in a 2000 Chevy Silverado can seem daunting at first but is very manageable with the right approach. Whether you’re updating the sound system or replacing a faulty unit, following essential steps will ensure a successful installation. This guide will discuss every step of the process, from gathering necessary tools to finishing the installation.
Tools and Materials Needed
Before starting the wiring process, gather all necessary tools and materials. Here’s a checklist to help you prepare:
- Tools:
- Phillips screwdriver
- Flathead screwdriver
- Wire strippers
- Soldering iron (optional)
- Heat shrink tubing or electrical tape
- Crimp connectors (if not soldering)
- Multimeter (for testing connections)
- Materials:
- New radio unit
- Wiring harness adapter (specific to Chevy Silverado)
- Antenna adapter (if needed)
Having everything in place will save time and make the process smoother. Each tool serves a specific purpose, ensuring accurate work and completing the installation effectively.
Preparing the Vehicle
Before diving into the actual wiring, you’ll need to prepare your Chevy Silverado. Start by disconnecting the battery to prevent any electrical shorts during installation. This step is crucial for safety.
Next, remove the dashboard trim carefully. Use a flathead screwdriver to pry off any clips without damaging the surfaces. Once the trim is off, locate the screws holding the factory radio in place. Remove these screws using your Phillips screwdriver.
Afterward, carefully pull the radio out of the dash. You might need to wiggle it a bit, but keep in mind that it may be attached to wires. Be gentle to avoid breaking any connectors.
Disconnecting the Old Radio
Once the radio is out, it’s time to disconnect the wiring. Look for the wiring harness plugged into the back of the factory radio. Carefully disconnect it by pressing the release tab and pulling it away from the radio.
Examine the antenna cable, which usually screws onto the back of the radio. Unscrew this connection as well. With everything disconnected, you can now put the old radio aside and focus on preparing the new radio for installation.
Preparing the New Radio
Before installing the new radio into your Silverado, it’s essential to connect the wiring harness adapter. This adapter will allow you to connect the new radio to your vehicle’s existing wiring without cutting or splicing wires.
Begin by matching the wire colors from the new radio to the wiring harness adapter. Typical colors include:
- Yellow: Constant power
- Red: Ignition power
- Black: Ground
- Green/Green with black stripe: Left speaker (+/-)
- White/White with black stripe: Right speaker (+/-)
Once matched, either use crimp connectors or solder the connections. If you’re soldering, remember to use heat shrink tubing or electrical tape to insulate the connections properly.
After connecting the wires and ensuring everything is securely attached, it’s time to connect the antenna cable. This step ensures you can receive radio signals once the new unit is powered on.
Installing the New Radio
With the wiring completed, hold the new radio in place and slide it into the dashboard. Align it properly and secure it using the screws you previously removed. Once the radio is fixed, replace the dashboard trim carefully. Make sure everything snaps back into place without forcing anything.
After the trim is back on, it’s time to reconnect the battery. This step will provide power to the new unit. Take a moment to verify that everything is functioning correctly. Turn on the ignition and check for power, audio functionality, and radio reception.
Testing the Connections
Once everything is installed, conduct thorough testing to ensure the system works. Turn on the new radio and test each speaker to ensure sound is coming from all of them. Check the Bluetooth functionality, if applicable, and make sure that you can tune into different stations.
If you encounter issues, you might want to double-check all connections. Use a multimeter to test for power in the wires. Ensure that the ground wire is attached securely, and there are no loose ends in your connections.
Troubleshooting Common Issues
Even after carefully completing the installation, you may face some common issues. If the radio doesn’t power on, check the battery connection first. Make sure the wiring harness is connected correctly, and there are no blown fuses.
If you’re not receiving any sound, confirm that the speaker wires are connected properly. Sometimes, the problem lies with the radio itself, so consulting the user manual for troubleshooting tips can be beneficial.
For Bluetooth issues, ensure that your device is correctly paired with the radio and that the radio’s Bluetooth function is activated.

Final Adjustment and Setup
After confirming that everything works as it should, you can customize your radio settings. Adjust the equalizer for optimal sound quality based on your preference. Many modern radios also come with additional features like fade control (to balance sound between the front and rear), bass enhancement, and treble adjustment.
Take some time to explore the settings and familiarize yourself with the navigational buttons. Understanding these functions will enhance your listening experience.
Conclusion
Wiring a radio in a 2000 Chevy Silverado is a straightforward process when approached methodically. By preparing the necessary tools, carefully handling the old and new units, and thoroughly testing your work, you can ensure a successful installation. With the steps outlined in this guide, even those with limited experience can confidently tackle this DIY project. Now, you can enjoy a fresh audio experience in your Silverado!
FAQs
1. How do I know which wiring harness adapter to buy for my new radio?
Look for a wiring harness adapter specifically designed for the 2000 Chevy Silverado. Many automotive retailers will categorize them based on make and model.
2. Can I use my old speakers with the new radio?
Yes, as long as the old speakers are in good condition, they can be connected to the new radio. However, if you’re upgrading, new speakers can enhance your overall sound experience.
3. What can I do if my new radio doesn’t fit in the dash properly?
If the radio doesn’t fit, check for any mounting brackets or adapters needed for a snug installation. These may be necessary depending on the radio model you purchase.
4. Is it normal for the radio to have a few settings that need to be adjusted after installation?
Yes, after installation, settings like time, equalizer, and station presets usually need to be configured to your preference.
5. Can I install a new radio without professional help?
Absolutely! As long as you follow essential steps, have the right tools, and take your time, it’s a manageable DIY project.

